Paska: traditional sourdough Easter bread
Some recipes go far beyond the kitchen: they hold stories, carry traditions and bring families together around the table. Paska is one of them.
This traditional Easter bread has a long history across Eastern Europe, especially in Ukraine, Slovakia and Romania. Its tender crumb, gentle sweetness and decorations made from the same dough make it as special for its flavor as for its cultural meaning.
In this version, we keep the essence of this festive bread and bring it into the world of sourdough baking, using a natural starter instead of commercial yeast. A recipe for enjoying the craft of baking by hand and discovering a tradition passed down from generation to generation.
Paska: a bread steeped in history and tradition
The name Paska comes from Pascha, a word tied to the celebration of Easter and its religious traditions.
In communities across Eastern Europe, this bread holds a special place during Holy Week. Traditionally, many families bake it before Easter Sunday and take it to church to be blessed along with other foods they'll share during the celebration.
More than a special recipe, Paska represents a time for family to come together and a custom that lives on in many homes.
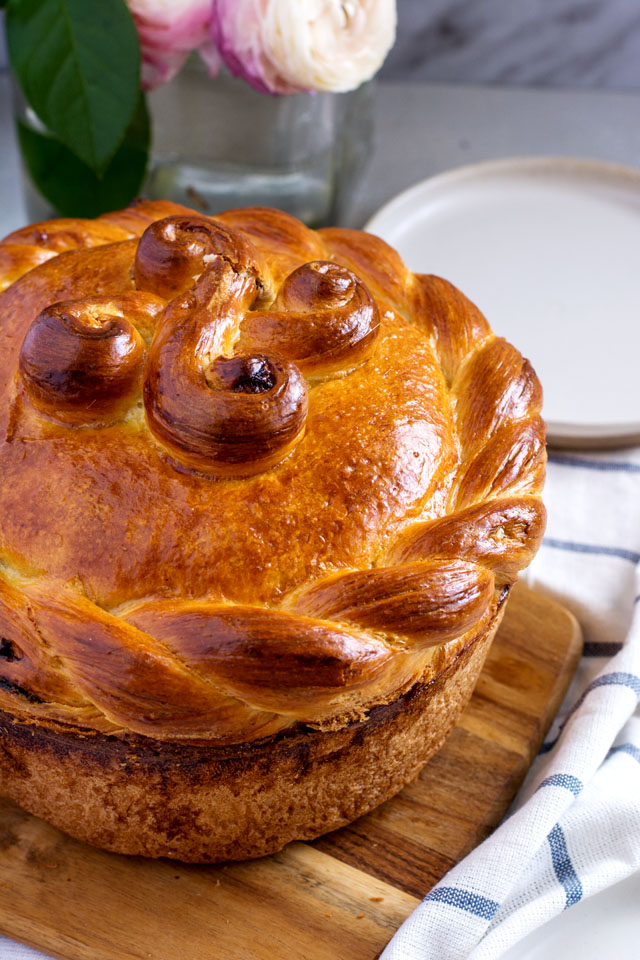
One of its most distinctive features is its decoration. It's common to see loaves adorned with braids, crosses and shapes made from small pieces of dough. Every family may have its own way of decorating them, giving each Paska its own unique look.
Although there are variations depending on the region and family customs, they all share the value of keeping alive a culinary tradition tied to Easter.
How is Paska traditionally served?
Despite its gentle sweetness, Paska pairs beautifully with both savory and sweet foods.
On traditional Easter tables, it's usually served with hard-boiled eggs, cheeses, ham and cured meats. These foods are part of the celebration and make the bread one of the stars of the festive breakfast.
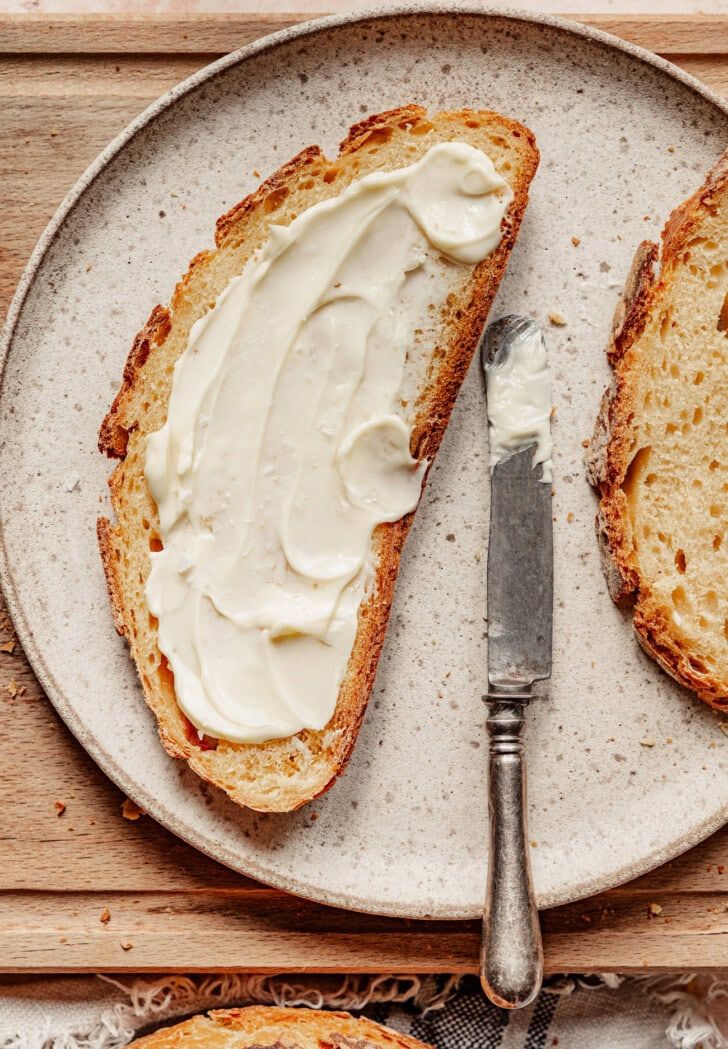
You can also enjoy it more simply: a slice with butter and jam is perfect with your morning coffee. Its soft texture and delicate flavor let you pair it with all kinds of ingredients without losing its character.
And if you have bread left over the next day, you can use it to make French toast. It's a delicious way to give this bake a second life and discover another way to enjoy it.
What makes sourdough Paska special?
Making Paska with sourdough is a chance to bring together a European baking tradition and natural fermentation.
Instead of commercial yeast, this version is made with an active sourdough starter that helps build the dough's structure and volume. The process takes time and patience, especially if you're used to quick-rise breads.
The key is to watch how the dough develops, respect its fermentation times and handle it with care. Every stage is part of the experience of baking bread at home.
Plus, shaping the decorative braids is one of the loveliest parts of this recipe: a small handmade detail that turns a homemade loaf into a special centerpiece to share.
Make your own Paska at home
If you've never tried this Easter bread, this recipe is a chance to discover a different tradition and bring something new to your table.
Take your time with the fermentation, enjoy the shaping and let your creativity run wild with the decorations. Every braid doesn't need to be perfect for your loaf to look beautiful and full of personality.
In the end, that's exactly where the magic of home baking lies: turning simple ingredients into something worth sharing.
Ready to make your own sourdough Paska? Follow the step-by-step recipe and enjoy this traditional bread at home, bringing together history, flavor and the joy of baking.
Golden Crumbs Kitchen — Everyday recipes made with love.