How to make homemade cultured butter: a simple recipe packed with flavor
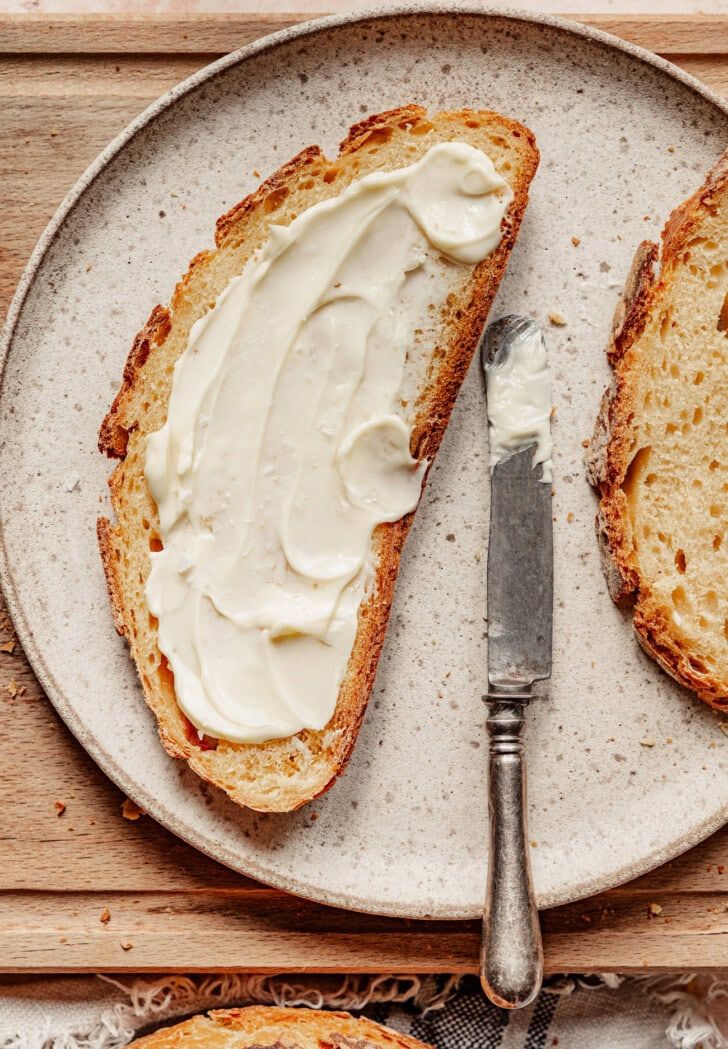
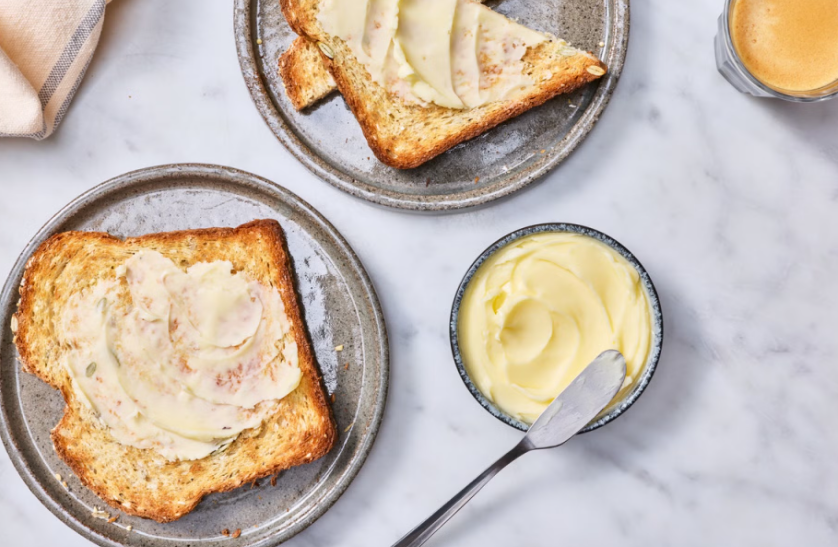
Have you ever thought about making your own butter at home? Today I want to show you a special version: homemade cultured butter.
It's a much simpler recipe than you might think. You don't need special equipment or hard-to-find ingredients, just a few ingredients, a little patience and a willingness to experiment in the kitchen.
Best of all, you can adjust the fermentation time to your taste and get a butter with a milder flavor or with the slightly tangy notes typical of cultured dairy.
In this article, I'll tell you what cultured butter is, what to keep in mind when making it and a few tricks for a delicious result.
What is homemade cultured butter, and what makes it special?
Cultured butter is made from cream that's fermented before it's churned to separate the fat from the buttermilk.
During this process, lactic acid bacteria break down some of the sugars in the cream and develop distinctive flavors and aromas. Then, when it's churned, you get a butter with a different personality from regular butter.
Fermented foods are interesting because they can provide microorganisms and compounds that are part of a varied diet. However, not all fermented foods contain the same amount of live microorganisms, and their effects depend on the product, how it's made and how it's stored.
The link between the gut microbiome and our health is a fascinating field of research. We're learning more and more about its possible role in digestion, immune function and other processes in the body. Even so, it wouldn't be accurate to say that cultured butter, on its own, improves health or guarantees specific benefits.
What we can definitely enjoy about this recipe is its flavor, the satisfaction of making it at home and the chance to get to know the ingredients we put on our table a little better.
If you'd like to dig deeper into the connection between stress, the brain and the gut microbiome, I recommend exploring the topic through reliable scientific sources and popular science books. It's a fascinating world that still has a lot to teach us.
And now, back to what brings us here: making delicious homemade butter!
My tips for making great cultured butter
Before we start, I want to share a few tips that can make all the difference in the final result.
1Choose good-quality cream
Cream is the star of this recipe, so it's worth choosing it carefully.
Look for a cream with a high fat content, ideally without added ingredients that could interfere with the process. The fat is exactly what gives you a creamy butter with a great texture.
For a long time, some low-fat products have been marketed as automatically healthier. But the quality of a food doesn't come down to a single feature: its ingredients, its makeup and our overall diet all matter too.
For this recipe, my advice is simple: choose a good cream and enjoy the process.
2Use plain yogurt with live cultures
The second ingredient is plain yogurt. Ideally, use one labeled as containing live and active cultures, with no added sugar or artificial flavors.
At home we usually use homemade yogurt, but you can also choose a store-bought one that checks these boxes.
Would you like to learn how to make your own yogurt at home? Let me know in the comments. If you're interested, I can share a simple recipe so you can add it to your everyday cooking too.
3Start with a short fermentation time
If you've never tried cultured butter, you might be worried it'll taste too strong.
My advice is to start with a shorter fermentation time, around 12 hours for example, as long as your fermentation conditions and your recipe's instructions allow it. That way you can try a milder flavor and decide whether to experiment with different times in future batches.
Remember that fermentation requires the right temperature and good hygiene. Use suitable cultures, follow a reliable recipe and don't leave cream at room temperature for long periods without specific food safety guidance.
4Keep an eye on your kitchen's temperature
Temperature affects how fast fermentation happens. I made this recipe at a room temperature of about 21 °C (70 °F).
If your kitchen is warmer, fermentation may move faster; if it's cooler, it may take longer. That's why you shouldn't go by the clock alone: follow your recipe's instructions and watch how the cream changes.
The idea is for you to learn to recognize the process so you can safely adapt it to the conditions in your home.
5Slow down when the cream starts to thicken
This tip will save you from more than one little kitchen disaster.
As you whip the cream, you'll first see it get thicker, until finally the fat separates from the liquid. When that separation happens, the change can be pretty sudden.
If you keep whipping at full speed, buttermilk can splash everywhere. To avoid that, gradually lower the speed once the cream gets very thick and keep an eye out for the butter separating.
A little patience, and you'll have a lot less to clean up afterward!
6Rinse the butter in ice-cold water
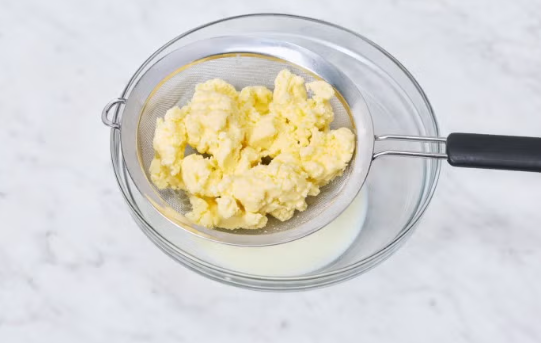
Once the butter has separated from the buttermilk, there's an important step: rinsing it to remove as much leftover liquid as possible.
To do this, use very cold water, even water chilled with ice. Working cold helps keep the butter firm and easier to handle.
Gently knead the butter under the water and change the water whenever it turns cloudy. Keep going until it runs much clearer and you've removed the leftover buttermilk.
This step helps the butter keep longer, although how long it lasts also depends on hygiene during preparation, how much moisture is left and the storage temperature. Store the butter in a clean container in the fridge.
7Don't waste the buttermilk!
After making your butter, you'll be left with a liquid that many people simply throw away. But you can use it in other recipes.
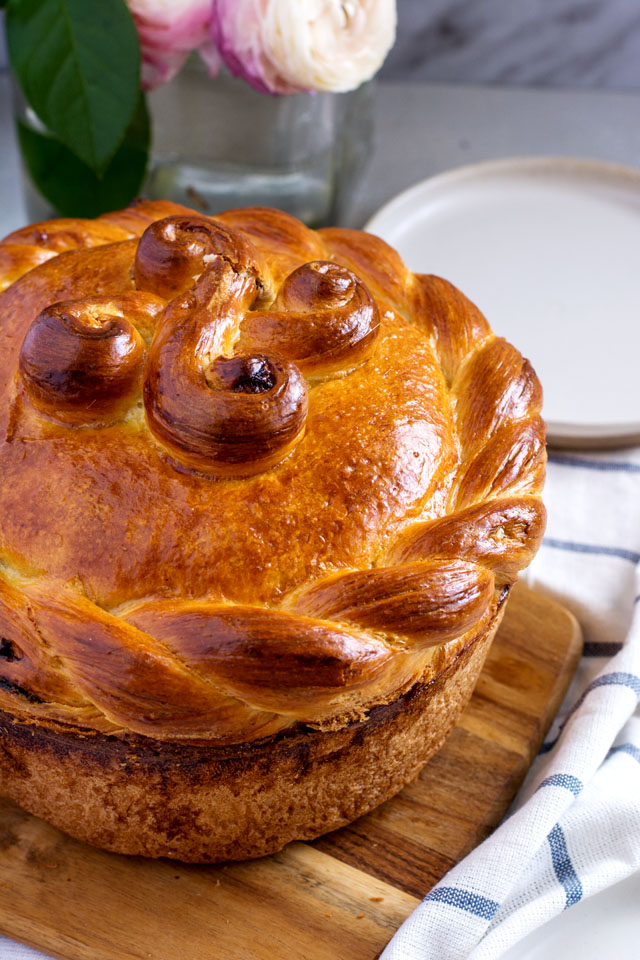
For example, you can use it to experiment with bread recipes, swapping some of the water for buttermilk, as long as it suits what you're making. It can add a different flavor and help you find new uses for ingredients you already have.
I love finding ways to make better use of what we use in the kitchen. Sometimes, small changes help us cook more mindfully and waste less.
Let's make our homemade cultured butter!
As you can see, making cultured butter at home doesn't have to be complicated. With simple ingredients, attention to timing and a few tips, you can make a different kind of butter and discover new flavors.
Now, gather your ingredients, set up your workspace and follow along with the step-by-step recipe.
Let's get started, and enjoy your homemade butter!